How to Clean My Ninja CF1100 Coffee Maker: 9 Easy Steps

If you love to enjoy a coffee cup every day, you need to keep your Ninja CF1100 coffee maker clean. Besides, a well-kept coffee maker gives you a better taste of your brew and also helps your machine last longer. The Ninja CF1100 coffee maker requires you to clean the coffee machine to remove coffee oils, residue, and mineral buildup. This can affect the taste and the machine’s performance. From daily rinsing to a deeper cleaning routine, you can learn how to clean my Ninja CF1100 coffee maker very easily with the details information below.
How Often to Clean My Ninja CF1100 Coffee Maker
If you want to always get fresh-tasting coffee from your Ninja coffee maker, you should clean the coffee machine often. After use, you dispose of the coffee grounds or pod and empty the carafe. You also clean the reusable filter and milk frother with warm soapy water. They should all be cleaned thoroughly to avoid build-up on these parts of your Ninja cf1100 coffee maker.
After all, you should clean and empty your water reservoir by hand with soapy water or a dishwasher once a week. You also need to clean out the mineral buildup and coffee oils that can change the taste of your brew.
Both the Ninja® Specialty Coffee Maker and Ninja® DualBrew Pro Specialty System have easy to use buttons or screens to let you know when to clean and descale your product. If you do these things, you will have a nice-tasting coffee and your machine will run smoothly.
What You’ll Need
Before you clean my Ninja CF1100 coffee maker, you need to prepare the tools and materials for the cleaning process to be easy.
| Equipment / Tools | Materials |
| Sponge, dish wand, or bottle brushMicrofiber towel | Distilled white vinegar or lemon juice, baking sodaDistilled water |
How to Clean My Ninja CF1100 Coffee Maker
A clean Ninja Coffee Bar will give you great-tasting coffee and a long-lasting machine. Let’s follow these simple steps to thoroughly clean your coffee maker:
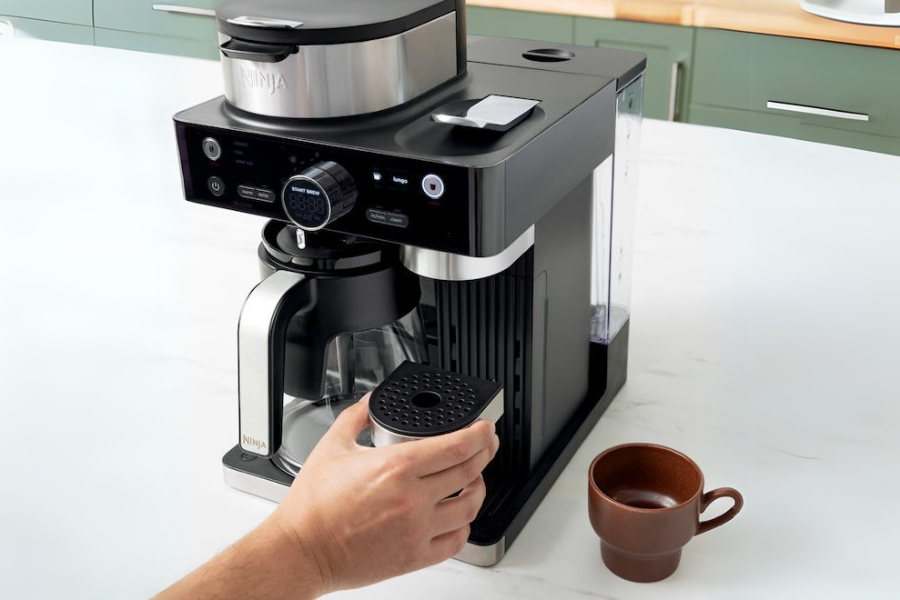
Step 1: Empty the Water Reservoir and Remove the Coffee Grounds
Step 1, After use, you get rid of any water in the reservoir. You take out anything from coffee grounds or pods from the machine. You’ll empty the carafe to start the cleaning process. The cleaning process begins with you emptying the carafe. This step is to ensure there is no residue left behind that will mess with cleaning.
Step 2: Water and Vinegar into the Reservoir
Step 2, you add about the size of a travel mug of vinegar or another solution to the water reservoir. Then you fill the rest with filtered, purified, or distilled water. Water helps dissolve buildup and get rid of the coffee oils in the machine.
Step 3: Run the Cleaning Cycle and Stop It
Step 3, you press the “CLEAN” button to begin the cleaning cycle. You replace the sterile water and let the water run for one minute to distribute the vinegar solution all over the system. One minute later, you press the button again to pause the cycle. Then you make sure the solution gets everywhere in the coffee maker.
Step 4: Wait 30-60 minutes
Step 4, you pause the coffee maker for 30 minutes to one hour. When you are using this time, the vinegar solution will loosen mineral deposits and coffee residue. This step ensures the solution reaches all internal parts of the coffee maker.
Step 5: Resume and Complete the Cleaning Cycle
Step 5, you press the “CLEAN” button again to restart the cleaning cycle. Let the cycle run completely without interruption for about 5 to 8 minutes. The loosened debris will be removed from the machine with the vinegar mixture flushed out.
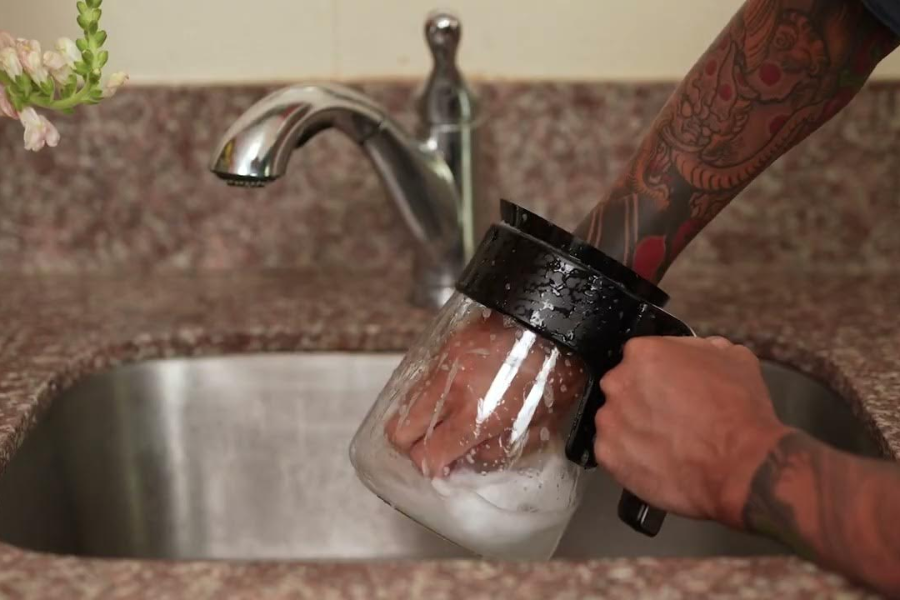
Step 6: Clean Components, discard the Solution
Step 6, once the cycle is done, you pour the vinegar and water out of the carafe. Then you wash the carafe, mesh basket, and reservoir with hot soapy water. The authors also recommend using a soft scrub brush to remove any buildup that may be left over.
Step 7: Run a Second Cleaning Cycle with Fresh Water
Step 7, in the second cleaning cycle, you refill the water reservoir with clean water. You press the “CLEAN” button again and let the cycle run all the way through. This step gets rid of any remaining vinegar to make sure your next brew doesn’t have that nasty taste.
Step 8: Clean All Components Again
After the second cleaning cycle, you empty the water from the carafe. Moreover, you wash the carafe, water reservoir, and mesh basket with warm, soapy water. This removes any remaining traces of vinegar and ensures your machine is spotless.
Step 9: Drip Plate and Coffee Outlet Wipe
Finally, you wipe the plate above the coffee pot and the area where coffee drips into the carafe. To clean up what stays, you use a damp cloth. If you clean these areas regularly, you prevent buildup and keep your coffee maker in tip-top shape.
The “CLEAN” light should stay off once the process is done until the machine requires a deep clean again. You should keep your Ninja Coffee Bar in tip-top shape will ensure your coffee always tastes fresh.
What Descaling Solutions Are Available?
If you want to keep a Ninja coffee maker running at peak efficiency, you should descale the machine. There are a few things you can use for cleaning.
- White Vinegar: A cheap and effective descaling solution is white vinegar. Vinegar is easy to find and will help break down mineral buildup. However, vinegar has a strong smell and if you don’t rinse well enough – the smell lingers.
- Lemon Juice: Lemon juice is another method to clean a coffee maker without vinegar. Lemon juice is effective for heavy mineral build-up.
- Baking Soda: The scale can also be removed with baking soda. Mildly abrasive, baking soda can clean the deposits without harming, but slightly.
How to Clean Ninja CF1100 Exterior Surfaces
The exterior surfaces of your Ninja coffee maker look good and work well if you clean your Ninja coffee maker’s exterior surfaces regularly. Cleaning regularly removes dust, fingerprints, and spills and keeps your coffee maker in tip-top condition.

Step 1: Unplug the Coffee Maker
You should plug in the coffee maker until after cleaning the exterior surfaces of Ninja coffee maker.
Step 2: Use a Damp Cloth
You wipe the outside surfaces of the coffee maker with a damp, lint-free cloth to remove dust, fingerprints, and minor spills. You shouldn’t use too much water as it can get into the machine and do damage.
Step 3: Add a Mild Cleaning Solution
If for tougher stains or smudges you need a mild cleaning solution. In warm water, you mix dish soap, and use that to wipe down the surfaces. Then you have to wipe over again with a clean damp cloth to remove any soap residue.
Step 4: Avoid Abrasive Cleaners
You don’t use abrasive cleaners, scouring pads or strong chemicals to clean. They can even scratch or damage your Ninja coffee maker’s exterior surface and make it look worn.
Step 5: Dry the Surfaces
After you clean the coffee maker, you dry the surface on a clean soft cloth. Drying the surfaces will prevent water spots and will be ready for next use.
Step 6: Clean the Control Panel
When you clean the control panel, you use a little damp cloth, wipe the buttons, and display them gently. You don’t overuse the moisture as it can damage the electronics.
Step 7: Regular Maintenance
If you clean the surface of your coffee maker regularly, the machine will stay clean and prevent dirt from accumulating. Let’s try to clean the surface once a week or whenever it’s needed.
Step 8: Recommendation for the Filter
When you finish brewing, let’s take the filter off and throw away what you’ve brewed from the used coffee grounds. To keep bacteria away, you clean the filter using warm, soapy water. For reusable nylon filters, regular cleaning is important to maintain their effectiveness over time.
Final Words
We do hope this guide has been able to show a clear and simple method to clean your Ninja CF1100 coffee maker. If you clean the machine regularly removes residue, the machine gets rid of unwanted odors and makes sure your coffee tastes fresh. Don’t let your coffee go bad, clean your Ninja CF1100 coffee maker today and enjoy every cup at its best. Let’s keep your coffee routine smooth and satisfied takes a little care!