How Do You Make Espresso Without A Machine: 4 Simple Ways

If you love coffee and want to brew a perfect cup of espresso at home, but do not want to pay a lot for the machine? This article is for you! Brewing espresso at home without a machine sounds impossible, but with some simple hacks, you can create a rich and flavorful shot that’s on par with a machine. These techniques are also economical and comfortable for lifestyle people. So, we dive into homemade espresso recipes and the answer to “How do you make espresso without a machine?” right in your kitchen.
What is Espresso?
Espresso is a concentrated coffee popular worldwide. Its definition originated from a special bartending process: hot water combined with finely ground roasted coffee under high pressure creates a rich and flavorful crema layer on the surface.
Espresso lovers appreciate not only the quality that espresso brings to drinks but also enjoy making them at home without a machine. It is suitable for a home brew made cost-effective and easy to craft for an on-the-go lifestyle. With an at-home espresso recipe, anyone can effortlessly customize the cup of coffee to the drinker’s taste and play with new brewing techniques at home.
How Do You Make Espresso Without a Machine?
Here are 4 ways how to make espresso without a machine that allows you to enjoy a rich, bold cup right at home. Each method is straightforward, using just basic tools, so you can experience espresso’s deep flavor anytime!
Immersion Process
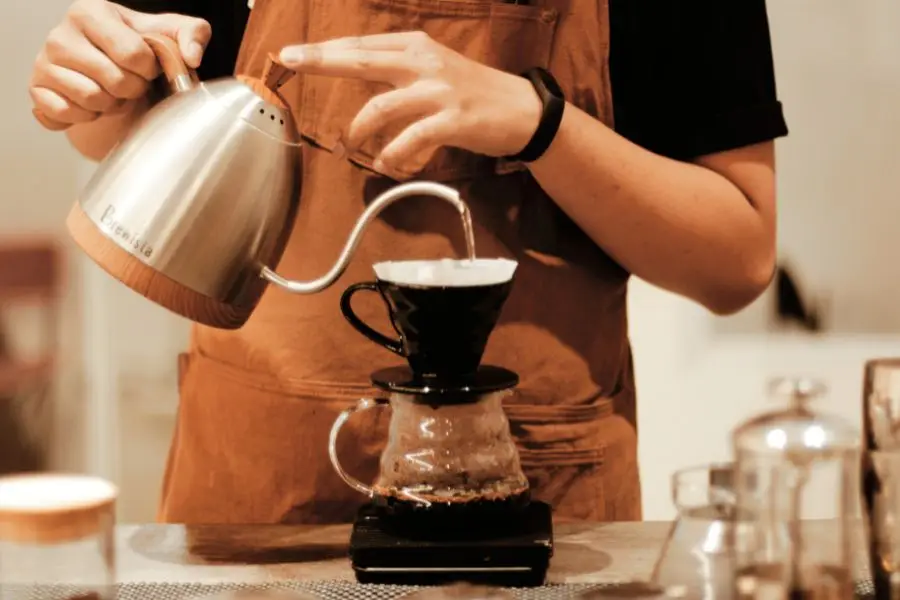
If you want to brew a rich taste of coffee like espresso without using the machine, the immersion method is the best choice, and it has really easy steps. The immersion method helps to create a strong coffee, similar to authentic espresso, although it lacks the concentration of espresso and crema layer like standard espresso.
Pros
- No need to use a machine or any special brewing equipment
- Suitable for anyone who wants to enjoy a cup of espresso but does not invest in the espresso machine
- Although it does not meet the real espresso standard, this method produces a strong, flavorful cup of coffee, suitable for those who like strong coffee.
Cons
- DIY espresso doesn’t achieve the characteristic richness and crema because it doesn’t use high pressure like an espresso machine.
- If you can not time the time to immerse too long or too short, it will affect the coffee taste
Step-by-step instructions
Step 1: Grind Coffee
Grind coffee beans to espresso-like fineness. When you grind, this fineness helps extract more delicious flavor during steeping.
Step 2: Pour hot water on the coffee
Pour finely coffee grounds from the previous step into a cup. Pour hot water (about 93°C) over the coffee and make sure the water is evenly soaked into the coffee grounds.
Step 3: Steeping Coffee
Wait about 4 minutes for the coffee to be extracted most thoroughly. The standard steeping time helps the coffee to deepen, creating a delicious coffee flavor, almost like a cup of espresso brewed by a machine.
Step 4: Filter
After steeping, filter the coffee through a fine sieve or clean cloth to remove the coffee grounds. You will enjoy a cup of strong, delicious coffee with the simple method above.
French Press
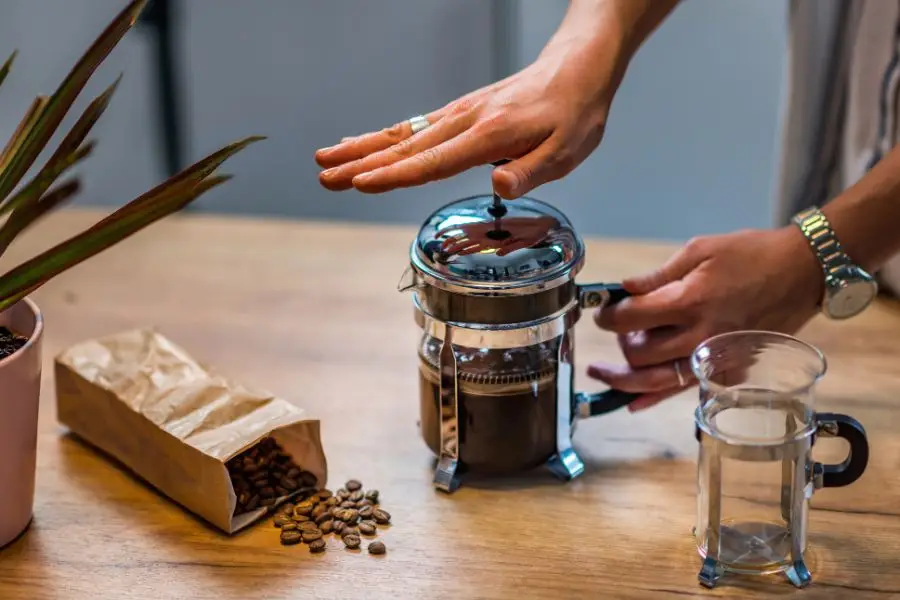
French Press, also known as press pot or plunger pot, is a traditional coffee-brewing method in France. The French Press method uses simple equipment but is effective, including a glass or inox bottle, a lid, and a plunger with a filter. The French Press was invented in the late 19th century and became essential to enjoying coffee culture. French Press is an espresso machine alternative that can give you a great-tasting cup of espresso.
Pros
- French Press uses force to extract maximum flavor from the coffee grounds, bringing you a rich and flavorful cup of coffee.
- The method does not require complicated techniques; anyone can do it easily at home.
- French Press is a fairly cheap device, suitable for many coffee lovers who do not want to invest much in a coffee maker.
Cons
- Compared to espresso, French Press coffee lacks consistency and crema
- Coffee can cool quickly as French Press pots do not retain heat as well, as some coffee makers
Step-by-step instructions
Step 1: Grind
You should choose the type of coffee beans you like and grind the coffee beans to a medium fineness, ideally similar to the fineness of coarse salt. Perfect fineness will prevent the coffee powder from passing through the filter, ensuring that the finished cup will have no residue.
Step 2: Coffee preparation:
Put the coffee powder into a French Press, then slowly pour hot water into the coffee powder in a 1:4 ratio. You should stir this mixture gently to help the coffee powder blend evenly with the water more easily. Then, cover it and let it soak for about 4 minutes to help the essence of the coffee powder dissolve into the water.
Step 3: Press and enjoy:
You should press slowly the plunger down to separate the coffee grounds from the water. You have a great cup of espresso!
AeroPress
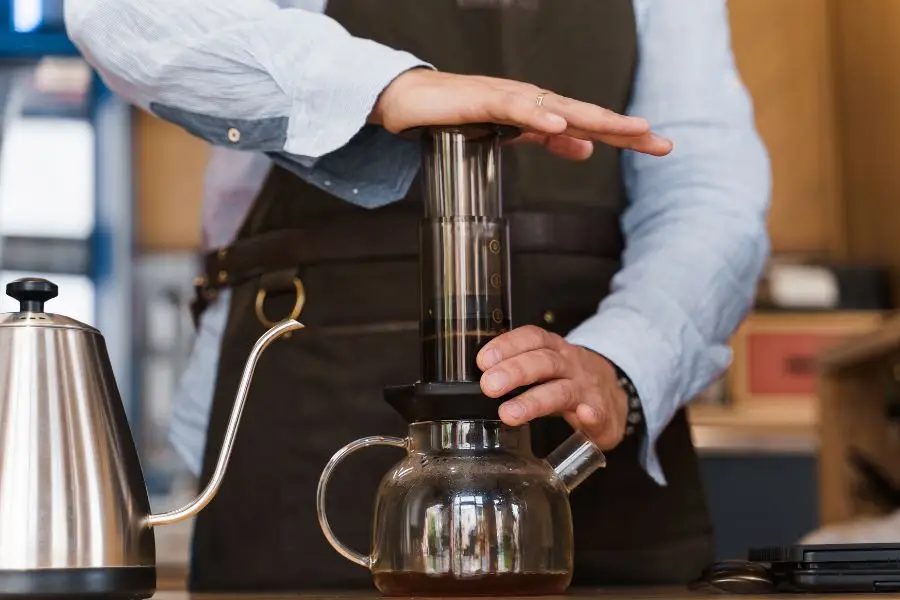
The AeroPress was invented by Alan Adler in 2005 and quickly became one of the most popular espresso alternatives. The structure of this tool is simple, consisting of a plastic tube, filter cap, and plunger.
Pros
- AeroPress is usually compact and easy to carry in a suitcase or luggage when traveling.
- The manual pressure method helps create strong, smooth coffee, almost like espresso.
- AeroPress can be cleaned quickly with just a few steps.
Cons
- Although the finished coffee flavor is very rich, AeroPress cannot create the characteristic crema layer like a dedicated espresso machine.
- The capacity is quite small, only enough for one to two cups of coffee at a time.
Step-by-step instructions
Step 1: Grind Coffee
Grind the coffee beans to a medium fineness, fine but not too fine. This is an important step to extract maximum flavor and help create a rich DIY espresso, ideal for those who love strong coffee.
Step 2: Using the Reverse AeroPress Method
For this part, you will want to put the Aero tool in the correct position (inverted) with the plunger on the bottom and the brewing tube facing up. Next, place the ground coffee in the brewing tube and hot pour the water at a temperature of 85-92°C to the coffee at a ratio of 1:6 to 1:8.
Hot water at this temperature will extract a balanced and smooth flavor. Then, stir gently to mix the coffee powder evenly with the water. Let the coffee steep for about 30-60 seconds to create a stronger, more intense flavor (depending on your preference for strength).
Step 3: Press the Coffee
After steeping the coffee for 30 – 60 seconds, close the lid and attach the filter to the AeroPress. Turn the AeroPress upside down carefully to avoid spilling the coffee.
Next, place the AeroPress on the cup and slowly press the plunger down. You will feel each drop of concentrated coffee with a delicate flavor no less than a standard espresso. The pressure from the plunger will help extract the coffee’s full aroma and characteristic bitterness.
Moka Pot
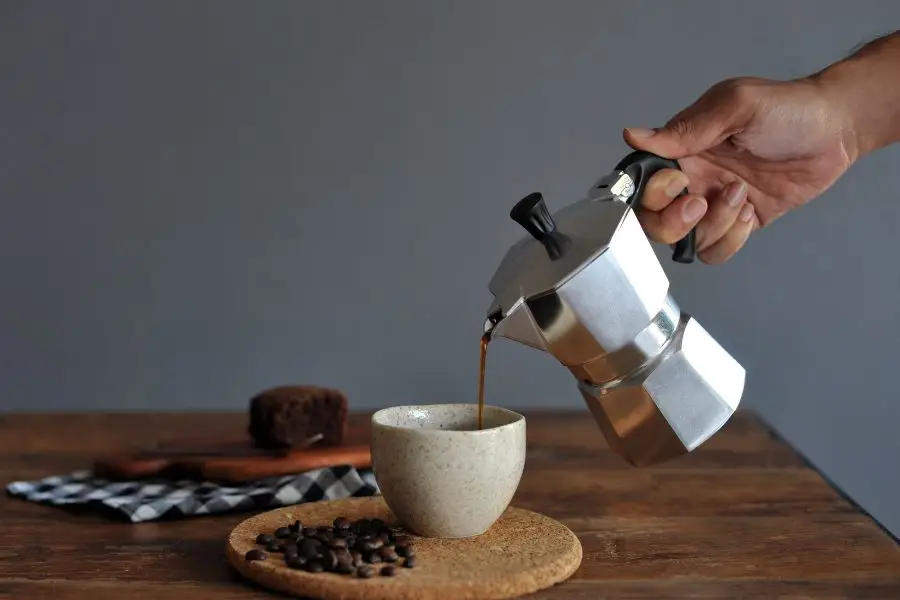
Born in 1933, the Moka Pot is one of the symbols of Italian coffee culture. With a simple but sophisticated structure, the Moka Pot consists of three main parts: the lower body containing water, the coffee filter, and the upper body to catch the coffee after extraction. The operating principle of Moka Pot is also extremely unique. When heated, the water in the lower body will create pressure, pushing hot water through the finely ground coffee layer.
Pros
- The Moka pot is a much cheaper device for making espresso than traditional espresso machines.
- A simple structure makes it easy to clean and maintain.
- It produces a strong coffee flavor that is quite similar to espresso.
- Uses heat from a stove, so it doesn’t require electricity, making it very convenient for travel or use in places without electricity.
Cons
- Espresso made from a professional espresso machine will have a layer of crema that is thicker and tastier than espresso from a Moka pot.
- If the temperature is too high or too low, the coffee can burn or not extract enough, affecting the flavor.
Step-by-step instructions
Step 1: Pour water into the lower part of the moka pot:
Pour hot water into the lower part of the pot so that the water is just below the small valve on the side of the pot to ensure pressure in the next step.
Step 2: Add coffee to the filter
Place the filter on top of the lower part of the pot that has been filled with water. Pour ground coffee into the filter, ensuring it is evenly covered without compacting it. If compacted too tightly, the water will have difficulty seeping through.
Step 3: Assemble and tighten the moka pot:
Place the upper part of the moka pot on the lower part and tighten it to ensure that no water leaks out when boiling.
Step 4: Place the moka pot on the stove and boil:
Place the moka pot on the stove with medium or low heat. When boiling, hear a slight “boiling” sound, which is due to the coffee extract being pushed up by pressure to the upper part.
Step 5: Observe the coffee flowing up:
When the coffee starts spraying up to the upper part of the Moka, reduce the heat or turn off the stove. Wait a few seconds for the coffee to continue to flow up to the upper part of the moka pot. Pour the coffee and enjoy
Bottom Line
It is time to taste the differences in extraction processes and find the one that you like the best; how do you make espresso without a machine? Whether you enjoy a French Press, an AeroPress, or a Moka Pot, all these methods help you drink espresso-style coffee in various ways. You can make yourself a perfect, full-bodied cup whenever you want with an out espresso machine!


