How To Roast Coffee Beans: 6 Flavorful Ways

Coffee roasting is an ancient art that has been practiced for many years. Coffee has gone on to conquer the world with its gigantic aroma and refreshing taste. The flavor, aroma, and quality of a cup of coffee can be influenced by how the coffee beans are roasted.
Knowing several ways how to roast coffee beans will allow you to develop your coffee experience further and mix flavors to suit your taste. Whether you are a veteran or a beginner in the field of drinking coffee, roasting your own coffee beans is both fun and delicious. Coffee Expressio will take you on an amazing tour through the world of coffee roasting.
How to Roast Coffee Beans: 6 Ways
There are several methods to roast coffee at home, each offering unique advantages. Today, Coffee Expressio suggests 6 common ways that you can easily use to roast coffee beans.
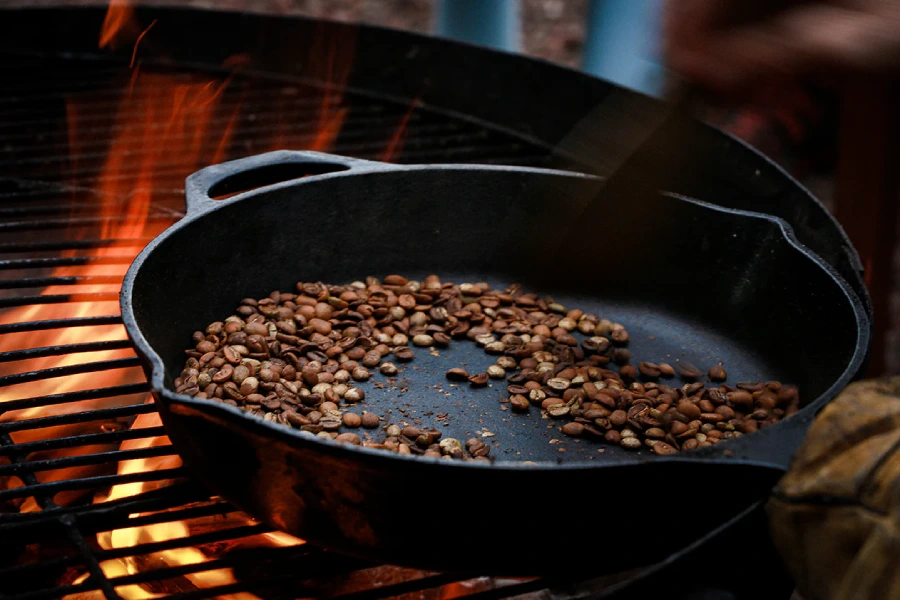
1. Roast Coffee In The Pan
The most straightforward form of roasting coffee would be pan roasting. First, preheat the pan over medium heat, then add the coffee beans, swirling constantly to ensure a uniform roast. As the coffee beans heat up, they begin to change color and unleash their fragrant properties.
Now listen for the initial popping and crackling sounds, which indicate that the coffee beans are generating taste. Once you’ve reached the appropriate roast level, remove the coffee beans from the flame and allow them to cool immediately.

2. Roast Coffee In The Oven
When considering how to roast coffee beans, you may see the oven as an alternative option. First, preheat your oven to a low temperature, about 200-220°C.
Spread your green coffee beans on a parchment-lined baking tray. You should make sure that the beans are not overlapping. Place the tray in the preheated oven and set the timer for the desired roasting level. The coffee beans begin to crack once every 5 minutes, then twice every 20 minutes. They can roast quite quickly, so keep an eye on them.
Once you smell the divine coffee and reach that characteristic color, you will know that the beans are ready. Then, let the beans cool completely before you celebrate any accomplishment. Oven roasting produces consistent results. Just a quick note: you’ll clean your oven afterward because the bean hulls might stick to the slots in the oven.
3. Roast Coffee Beans With The Popcorn Machine
The fun twist is to use your popcorn popper as a mini coffee roaster. If you don’t already have a popcorn popper in your home, the method will be quite inexpensive.
Put the unroasted coffee beans inside the popcorn popper. The raw beans whirl and dance inside the hot air of the popcorn popper, emitting their fragrant odor. Since popcorn poppers were not made to roast coffee, you should consider different settings and times. After about 4 minutes, you should hear the first pop and wait about another 10 to 15 minutes until they pop a second time.
Moreover, popcorn machines should be used outdoors. The popcorn popper’s air will blow the silvery crust off the coffee and leave it all over your kitchen. Drawbacks noted, roasting in a popcorn popper is a fun, economical way to enter the world of coffee and your own personal blends.
4. Roast Coffee Beans By The Hot Air Gun
Do you want to try a little adventure now? Don’t forget the hot air gun, which could be your secret weapon. The handy tool lets you control the roasting process, bean by bean. Just blow hot air at green coffee beans, and watch them turn into dark, fragrant beauties. The results are great, but you need a steady hand and an eagle’s eye.
Everything from light to dark roast, the options are endless to bring out the full potential of your favorite beans. However, be very careful not to overhear it, or it will ruin your batch in no time.
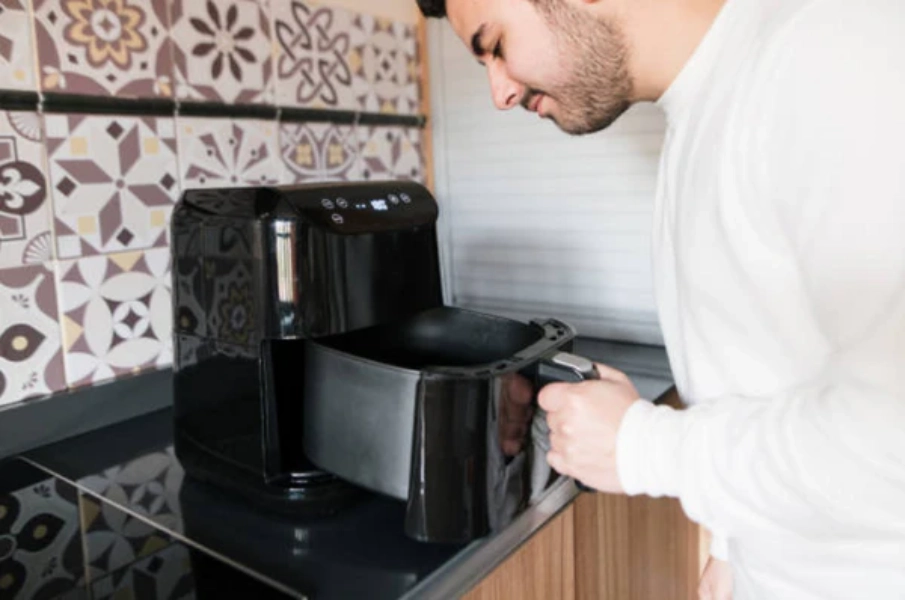
5. Roast Coffee In The Hot Air Fryer
The small air fryer – who knew it had hidden talents and could double as a coffee roaster? Lay the beans out in the removable frying basket, and crank up the temperature to about 200-220°C°. The hot air circulating will roast the beans into the perfect coffee.
While the air fryer is a convenient method, keep in mind the beans, for they roast in no time. This can over-roast into bitterness, so a little practice will make perfect. Why not give it a try?

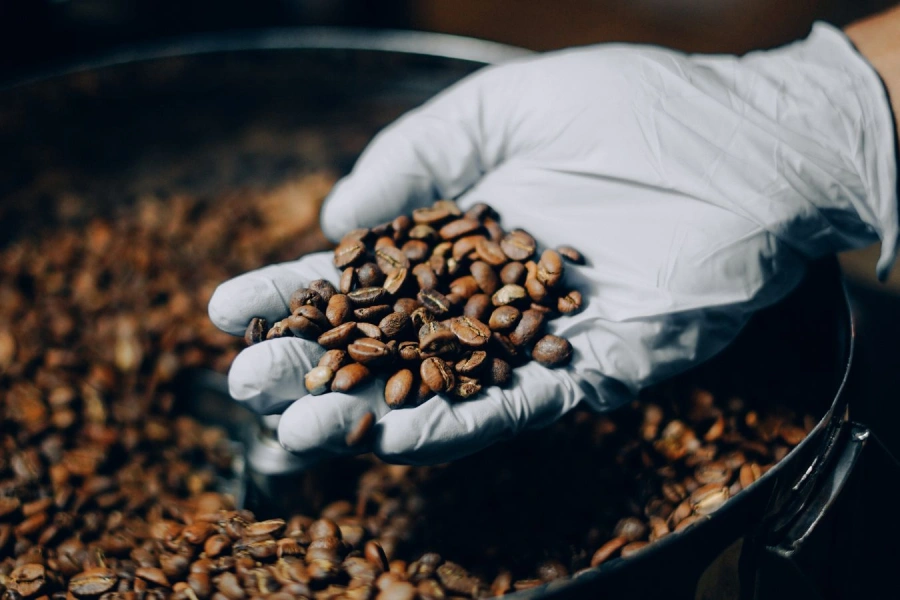
Roast The Coffee Beans With A Home Coffee Roaster
Imagine the unmistakable smell of freshly roasted coffee beans wafting through your house. Therefore, using a home coffee roaster is one of the safer solutions for roasting coffee beans. Simply place the green coffee beans in the roaster, turn the temperature to your liking, and voila. The clear viewing glass lets you keep a keen eye on the beans as they roast.
A cup of coffee suitable for your own taste. Home roasters are rather precise and convenient, but they can be costly. However, you are free to play with roast profiles and unique blends of coffee, making it a nice indulgence for serious coffee connoisseurs.
Step-by-step Guide to Roast Coffee
Roasting the coffee beans is a sensitive balance, with heat, time, and an essential observation. Now, the following six main steps will be used to develop your perfect roast by merging science with art.
Step 1: Find a place to roast the coffee
First things first, you’re going to have to find a place to roast your coffee. Roasting lets off smoke and chaff which might overwhelm indoor areas. So, you can consider a well-ventilated area such as a garage or covered patio.
Step 2: Measure out the coffee beans
Before you get into the roasting part, you first measure out the number of green coffee beans desired. Weight must be measured on a digital scale for absolute accuracy-not by what ‘feels right’.
Step 3: Begin roasting the coffee
It’s about to get really fun! Place your green coffee beans into your roaster, popcorn popper, or even air fryer. The heat applied to the beans starts evaporating the moisture content in them. You will notice the subtle change of color from vibrant green to pale yellow. The aroma at the stage is so faint but a promising precursor to the rich flavors that will follow.
Step 4: Listen for the first crack
As you continue to roast, there’s a particular sound that you’ll hit: the first crack. The magic moment is when the beans explode in size due to built-up air pressure inside them. It’s quite fascinating to see them grow in size and release such a wonderful fragrance.
Step 5: Dump out the beans
The beans will darken more, and a shift in flavor profile toward bitterness and an intense character will occur like a French roast. When the beans reach your target color, immediately dump the beans into a metal colander. Trust your instincts-the color, smell, and sound will let you know when to stop roasting.
Step 6: Cool the beans and enjoy
Now, the grand finale is cooling down your roasted beans! This step will help in the halting of the roasting process and retain flavors within. You can spread the beans on a cooling rack or move them to a metal colander. Enjoy your homemade coffee within two weeks for optimal flavor.

Choosing the Right Green Coffee Beans
After learning some basic roasting techniques, Coffee Expressio gives some ideas on choosing the best coffee beans! You can almost envision those green coffee beans as little treasures begging for a transformation. You look for heavy-bodied, well-sized beans in a rich green color. Those healthy beans need to give off aromas of earthy notes and hints of flowers and fruit. Avoid beans that smell flat or even have a musty smell.
Bottom Line
Congratulations! You have fired up a totally personalized coffee experience. How to roast coffee beans helps not just to brew a cup of coffee, but to craft it. There are a lot of different roasts that all have their own characteristics to suit your needs. And the moment you embrace learning and curiosity, your home-roasting journey will be complete. Fire up your roaster, grab a cup of coffee, and let the journey begin with Coffee Expressio!


